Showing posts with label D.I.Y.. Show all posts

Wednesday, June 8, 2016

Wildish Wise Women


In May I was incredibly honored to be asked to be a part of a series called Wildish Wise Women: Conversations with Everyday Goddesses. My friend and Reiki Mentor Jesalyn Eatchel decided that with the abundance of knowledgeable women in her inner circle, she should capture conversations and start a podcast!
The series includes many relevant topics from "Creating Sacred places" to "Self Love" and many more. My contribution on Everyday Creativity for people of all Ages can be listened to here.

Sunday, December 22, 2013

Getting to know you: D.I.Y Gift Idea

This is quite possibly the easiest D.I.Y. gift idea out there. It costs very little money and requires light materials, and can be customized for many different people in your life.
The concept is sort of like the game '20 Questions' but more interactive and a great game for breaking the ice at work during team building exercises or interviews, or when having old or new friends over for dinner. It's a great way to have fun with your family and learn something about them at the same time.
 I made 4 of them for my co-workers this year, so I went with matching jars and general topics. I bought smooth mason jars from Target for only a few bucks each, but depending on the person you have in mind, you can use a recycled glass jar or colored container which are easy to find at second-hand stores.

I prefer to use clear containers and decorative paper since I think it encourages people to explore what it is. I purchased a variety of textures and colors which compliment each other, and which makes the overall look more intriguing. I picked patterns I knew my friends would enjoy, or would compliment their home. Again you can customize the jar depending on the theme by using many varieties of paper out there, or making good use of scrap-booking paper remnants you may already have.

 Once you have the paper selected, you'll want to cut small, roughly 1 inch pieces. You'll want them large enough to hold about a sentence worth of words. Then, using your imagination or, if needed, one of these websites below to help, write out a question on each piece then fold it in half. For every 3 pieces you put in, insert a blank piece. When you play the game, if someone pulls a blank paper they have to write in their own question and skip a turn. This helps extend your list of questions and build up new conversations over time.


General questions for everyone:
What if...
Random, mostly useless or fun
Life Possibilities
Getting to know you

Some ideas for co-workers or an office edition:
Starting a new business
New Hires
Ice breakers at work

Ideas for  a family-themed edition:
Home life
Exploring your Ancestors
Dinner table conversations

Idea's for a bachelorette party:
Witty and Pretty 
Engagement discussions 

New Years gift:
New Year, New You
365 Questions, one a day

Questions for the Spiritually minded friend:
Rapid Self-discovery
Improvement and growth

I hope you have fun creating these thoughtful gifts, or make one together on Christmas. It will bring much laughter and deepen the connections you have to those in your life.

Tuesday, October 22, 2013

Girl Scouts, all grown up


Pigment, (my favorite shop in San Diego) is hosting neat little craft events that make me feel like a Girl Scout all over again. Yes, the prices are a little inflated but materials are provided and you leave with a goodie bag. The next craft camp is November 9th, book worms unite!

Sunday, April 15, 2012

Terrarium Tutorial

April is the month we celebrate the Earth and this year I decided to host a small gathering at my place to bring together my crafty ladies and do something green at the same time.

The casual D.I.Y. tutorial on how to make your own terrarium only cost $20 (a special "friend rate"), which included the glass bowl, 3 succulents with fixings and the lesson, plus they got to take home the result!

Terrariums are great for those born without a green thumb, for a easy decor addition to any home or as a gift
that everyone loves (especially if it is handmade).

Here are some images from the day !


The set up

A wide variety of Bowls to chose from allows everyone to create something unique

Decisions, decisions...


Materials


Arranging can be tricky, but once you get the hang of it, it's fun


A few near completed

And the final results!


And, everyone get's a spray bottle to take home to ensure the succulents stay alive! (Over watering is just as disastrous as under-watering plants)

Thank you to everyone who participated! If you or anyone you know would like to attend the next tutorial, please email me at: joyboe@hotmail.com. I can do special events for bridesmaids, birthdays, or co-ed housewarming parties.

Wednesday, July 6, 2011

D.I.Y. Summer souvenir's


"A souvenir (French), for a remembrance or memory), memento, keepsake or token of remembrance is an object a person acquires for the memories the owner associates with it. The term souvenir brings to mind the mass-produced kitch that is the main commodity of souvenir and gift shops in many tourist traps around the world. But a souvenir can be any object that can be collected or purchased and transported home by the traveler. The object itself has no real significance other than the psychological connection the possessor has with the object as a symbol of past experience. Without the owner's input, the object's meaning is invisible and cannot be articulated"

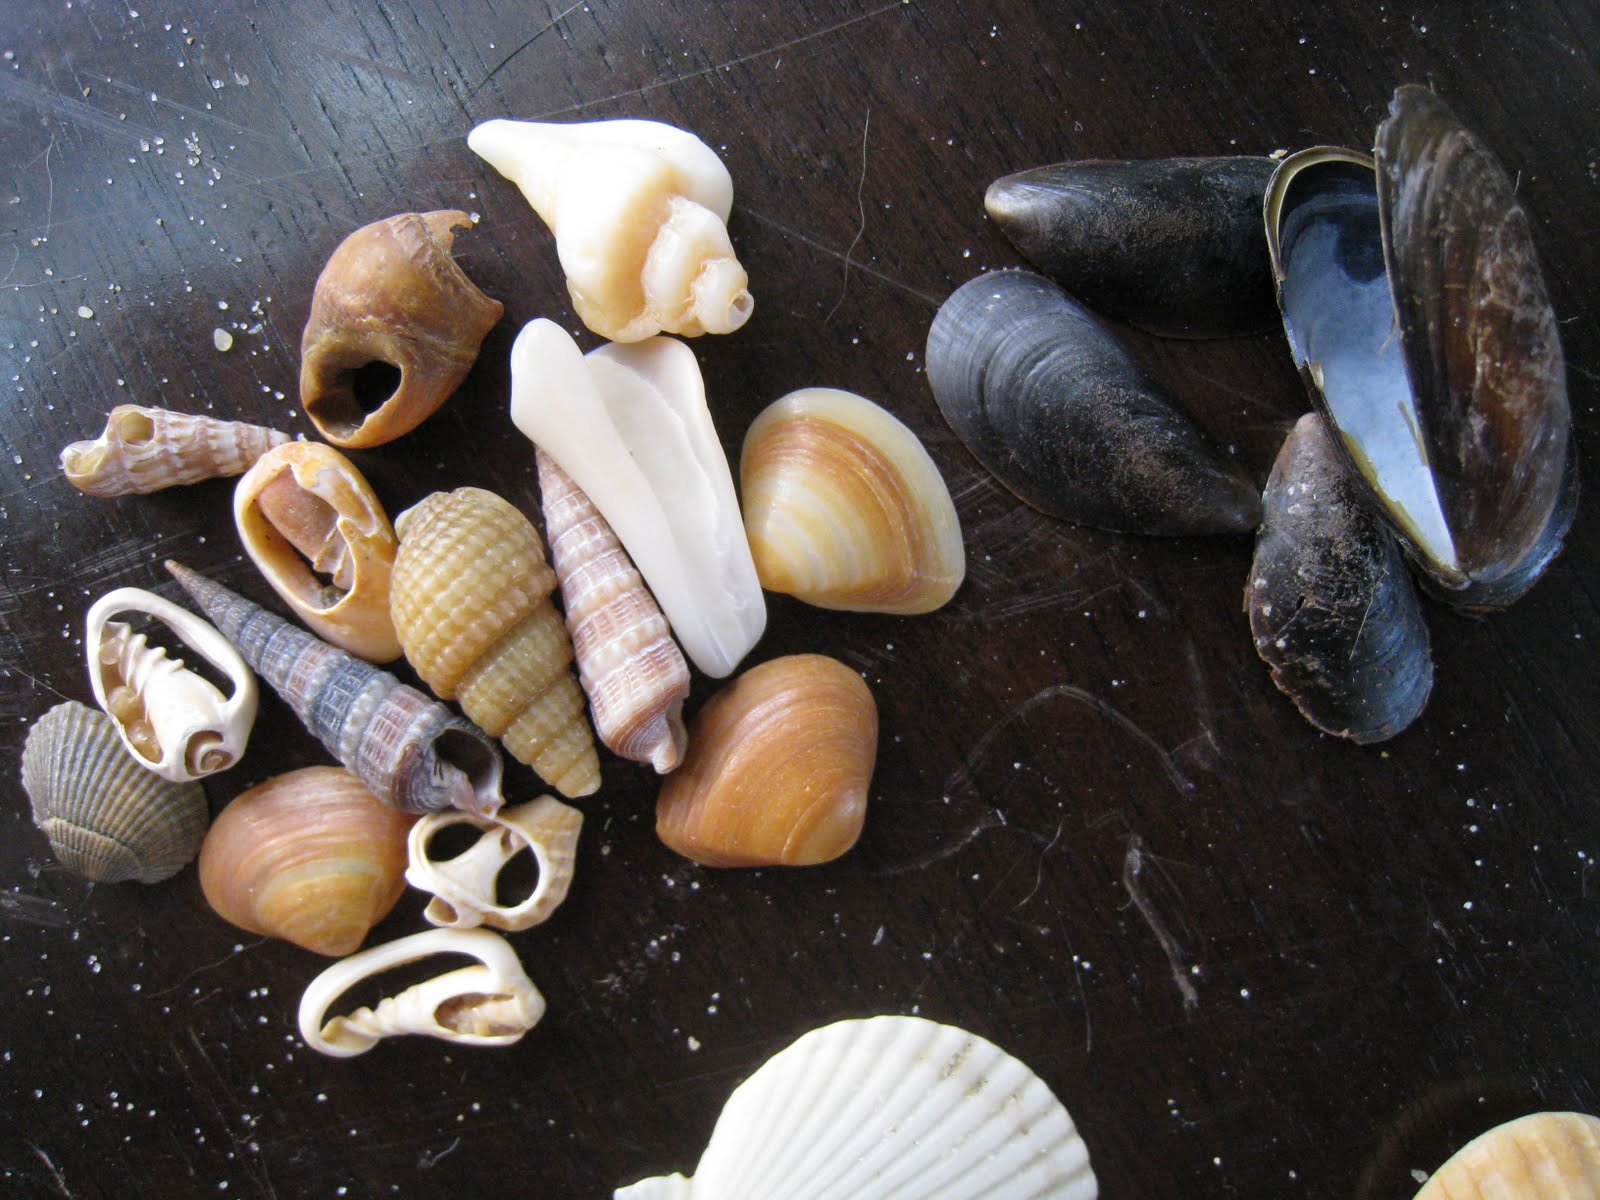
Unless that souvenir is thoughtful, and unique, and (hopefully) free! Like the project I am working on with shells I just collected on vacation in Cape Hatteras.


So many beautiful shells washed up during low tide, it became addicting to scavenge the beach for gems everyday. Or sometimes twice... The Atlantic, with it's coarse sand, sea oat covered dunes, and dreamy skies made for a completely
different "beach" experience for me and I want to preserve it!

Here is a little Do it Yourself project that makes a nice little memento for summer trips, and it nearly free. It just
requires Ziploc bags, glass jars and a big flat space to work on.


The first step is the most fun... just collect! Either stick to a few themes, for instance a certain color ( in this case I was attracted to the black shells), or go for anything interesting. Use Ziploc bags to collect sand or gravel in an air-tight (airplane-safe) way.

Next, probably when you get home, wash everything to get the sea critters off. I enjoy the scent of the sea so I just lighted dusted off what I needed to.

Then, organize the piles of finds into categories so it is easier to put together. This is especially important if you are making several jars, or have collected for different people. You can group items together by a random mix, or by
species, color, etc. This time, I am including a bit of the sea gravel, sand, and selections of special shells in each. I bought a 4 pack of small mason jars at Ace Hardware for around 5 bucks, plus found a few others at a thrift store.


Lastly, label the jar with the location of where it was collected. And boom! Nice little package for your special someone.


Wednesday, December 22, 2010

Make your own (Joy) Boe's


For years women in Kenya have been recycling old magazines and newspapers into jewelry, like these paper necklaces from World Buyers. I love this for several reasons, their resourcefulness is not only Eco-friendly by cutting down on the amount of trash, but they make a living by being creative, often times becoming the breadwinner for their families.
I found a similar neat-o idea on Talk Crafty To Me for making your own gift wrap out of magazines this holiday season, or year 'round. All you need is some decorative paper materials like newspapers and/or magazines, old map's, or sheet music and double sided tape. You can also use fabric and substitute the tape for hot glue or colored staples.

Start by cutting a page lengthwise into nine 3/4-inch-thick strips of heights shown: Three at 11 inches, three at 10 inches, two at 9 inches, and one at 3 1/2 inches.


Twist each strip to form loops at both ends. Make a circle out of the smallest.

Secure the ends with a piece of double-sided tape.


Layer and stick, starting with the longest strips. End with the circle in the center and oh joy, you're done.